
Last updated August 26, 2026
Free on-site gate assessment - hinges, posts, and your LiftMaster or Nice gate operator checked before anything is quoted
The assessment is free and the quote is the invoice.
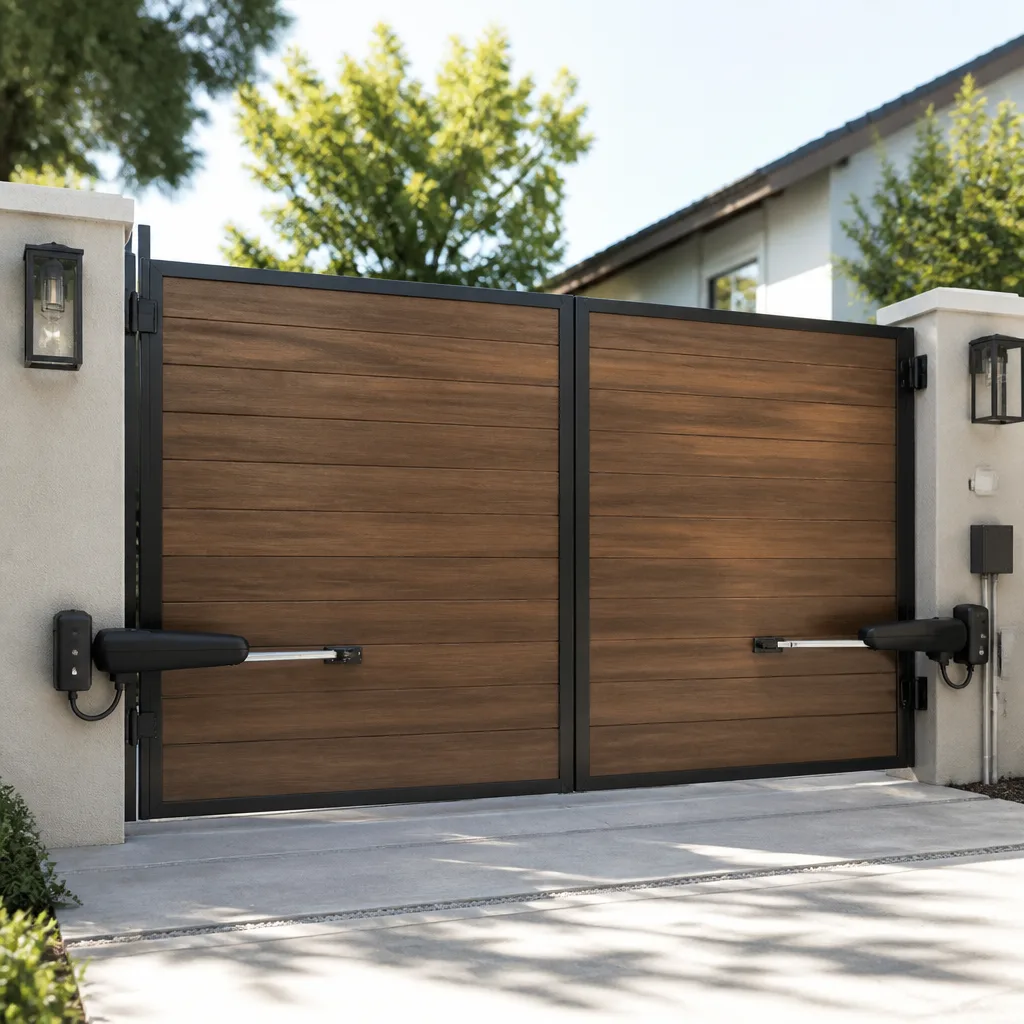
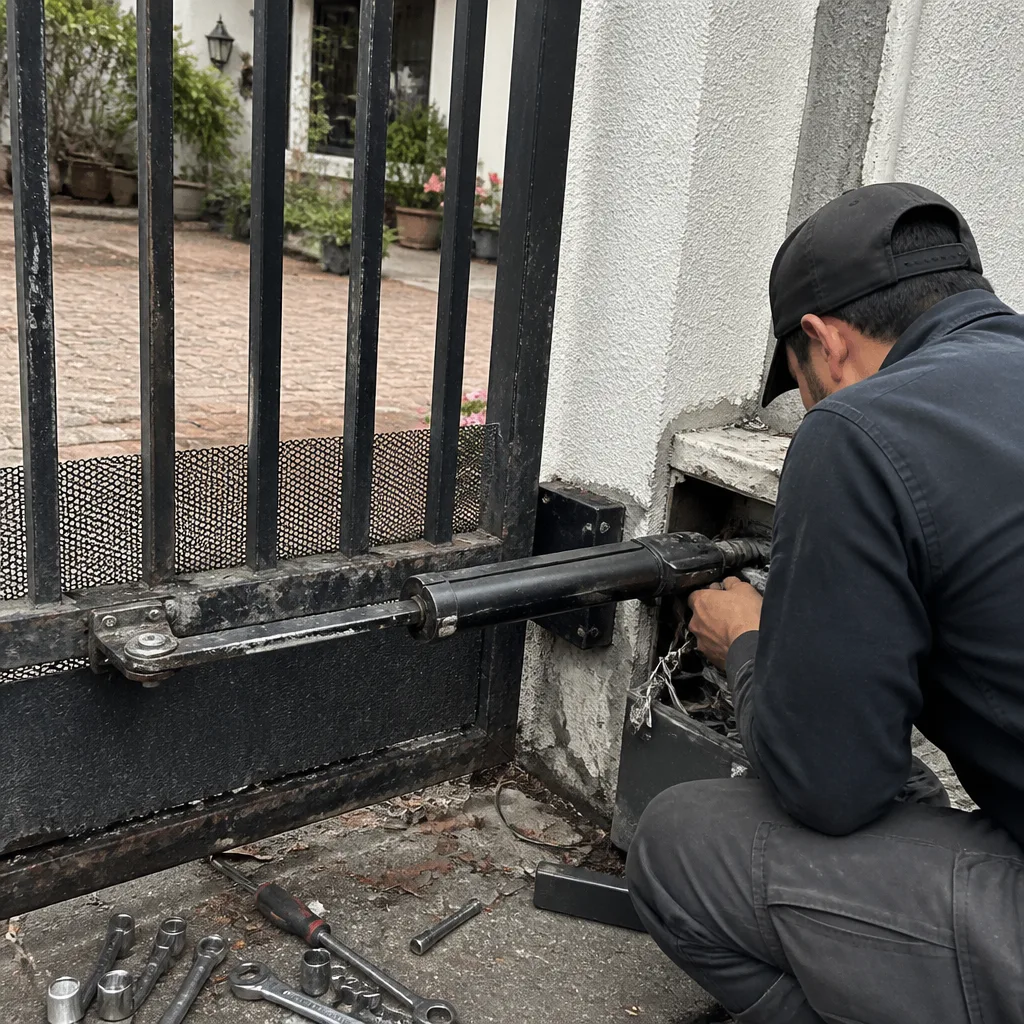 Before
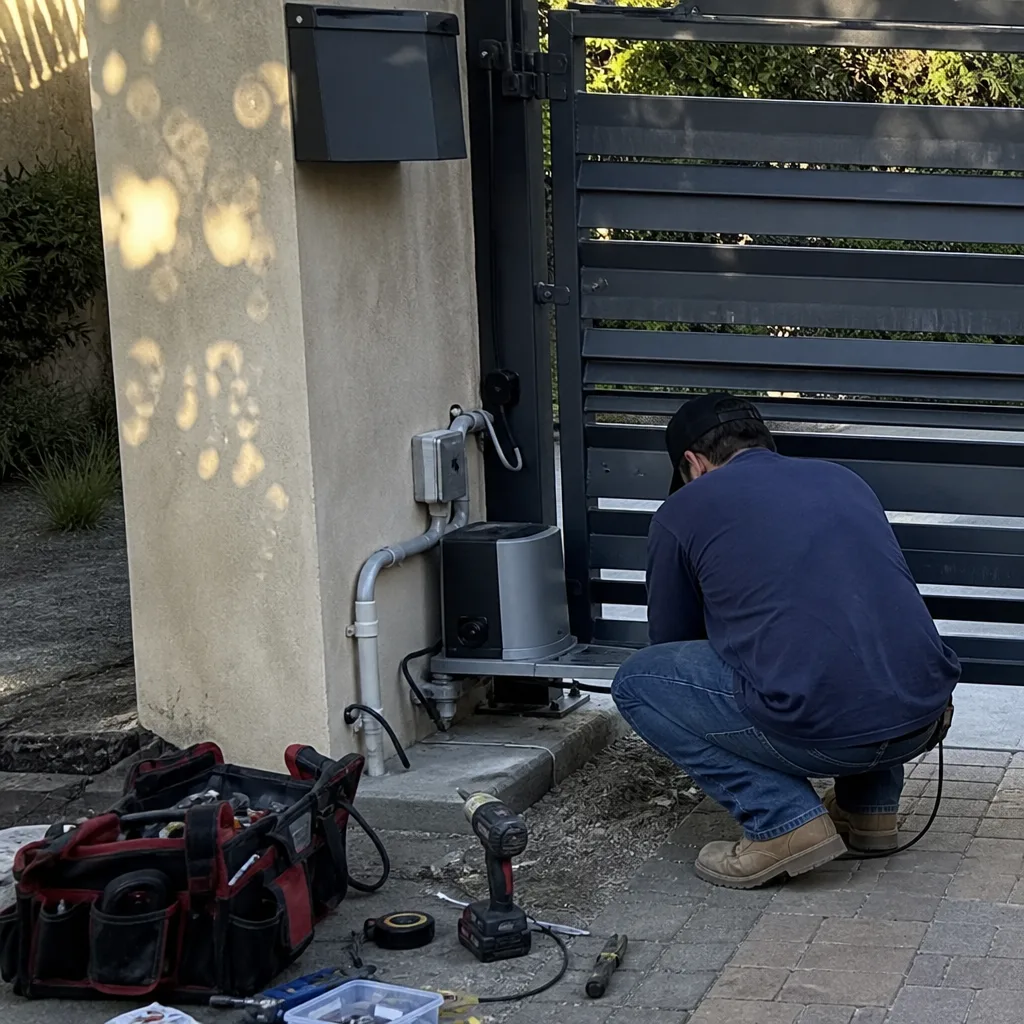 After
After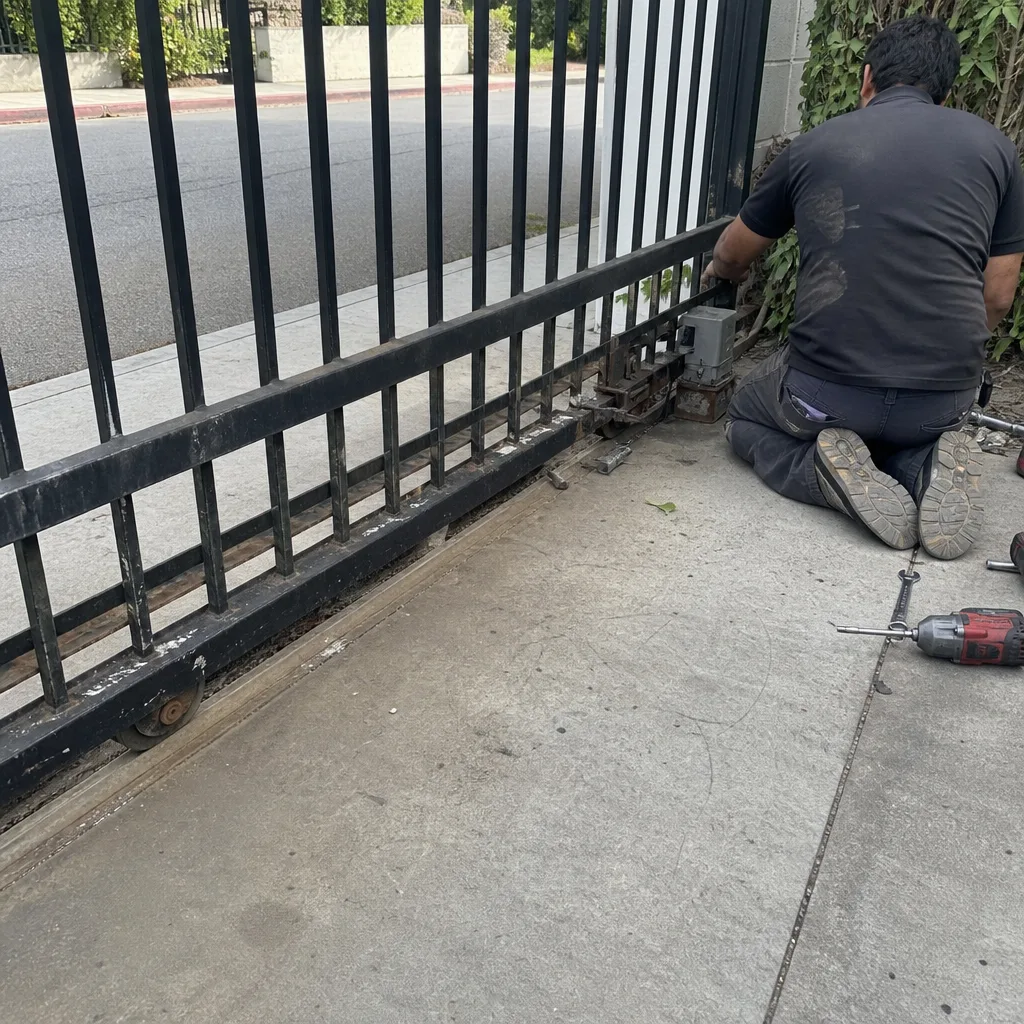 Before
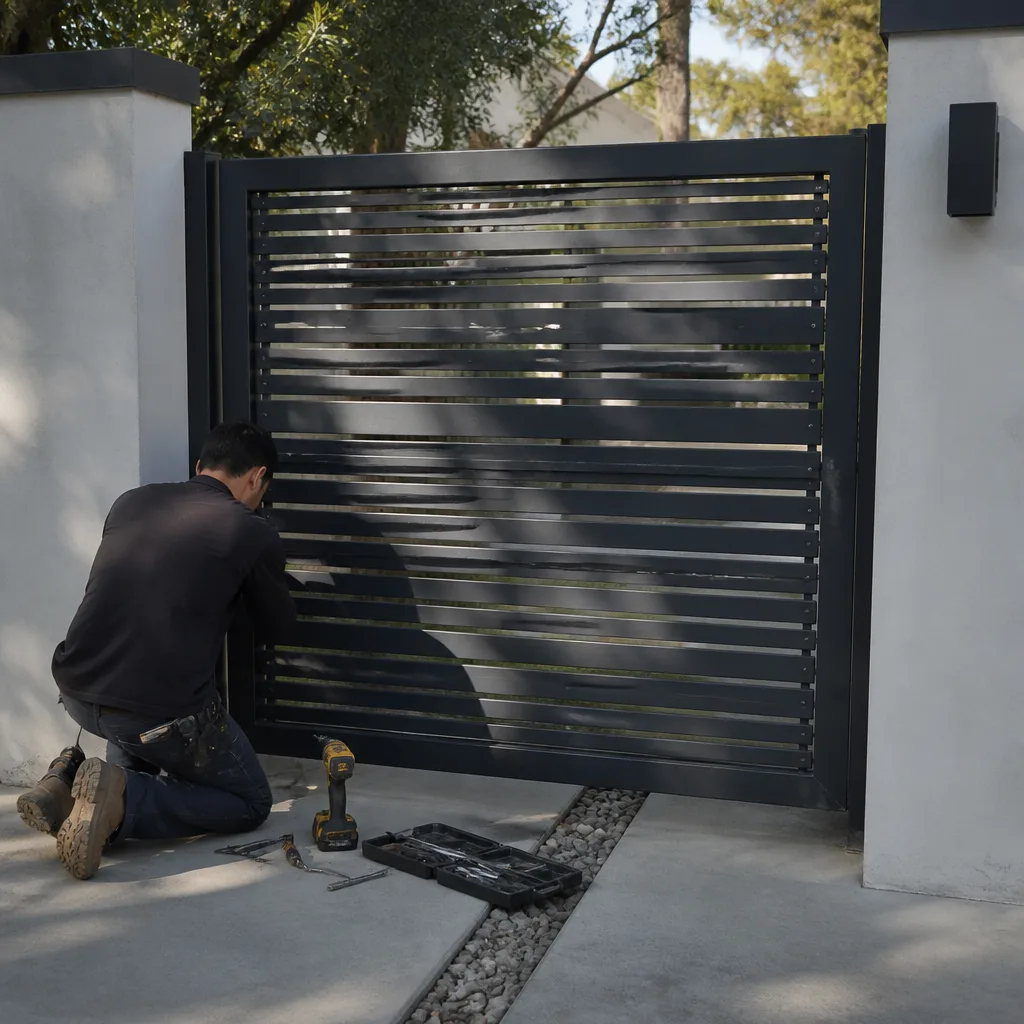 After
After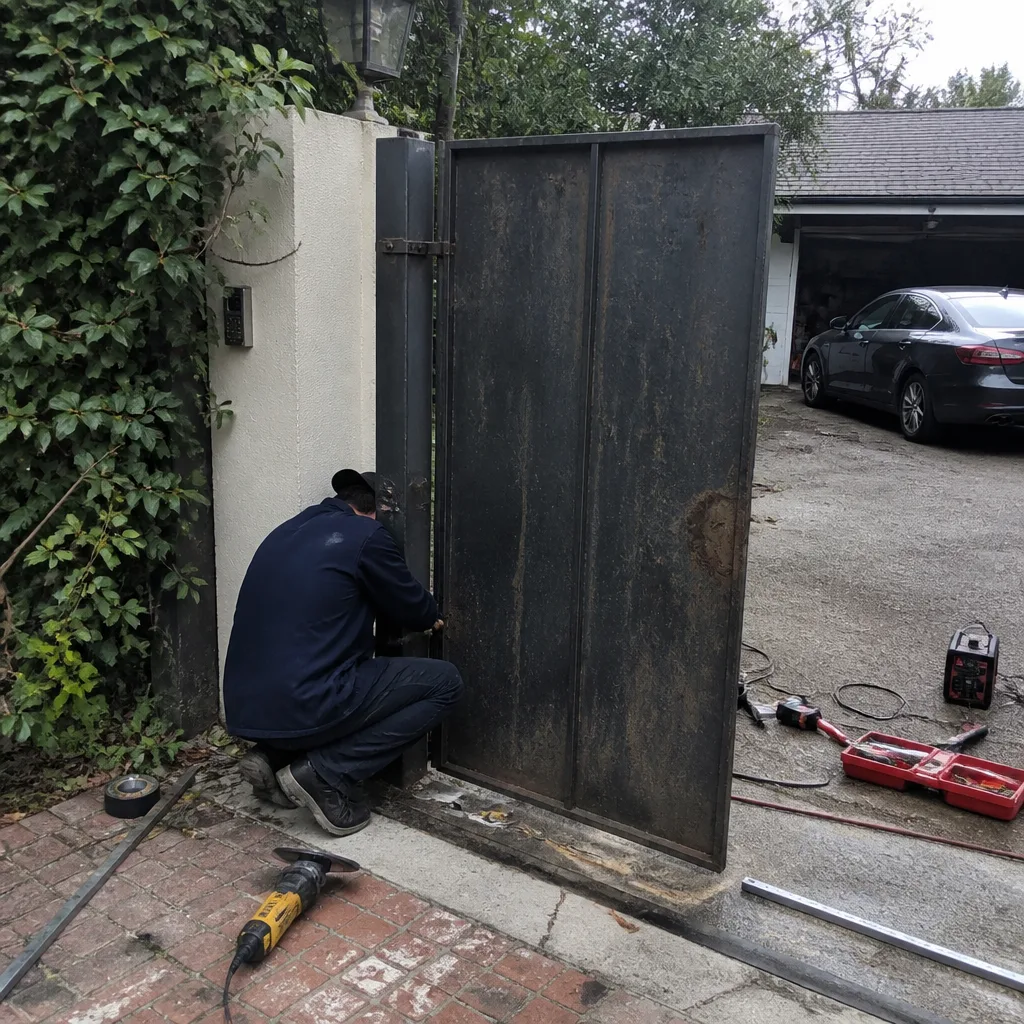 Before
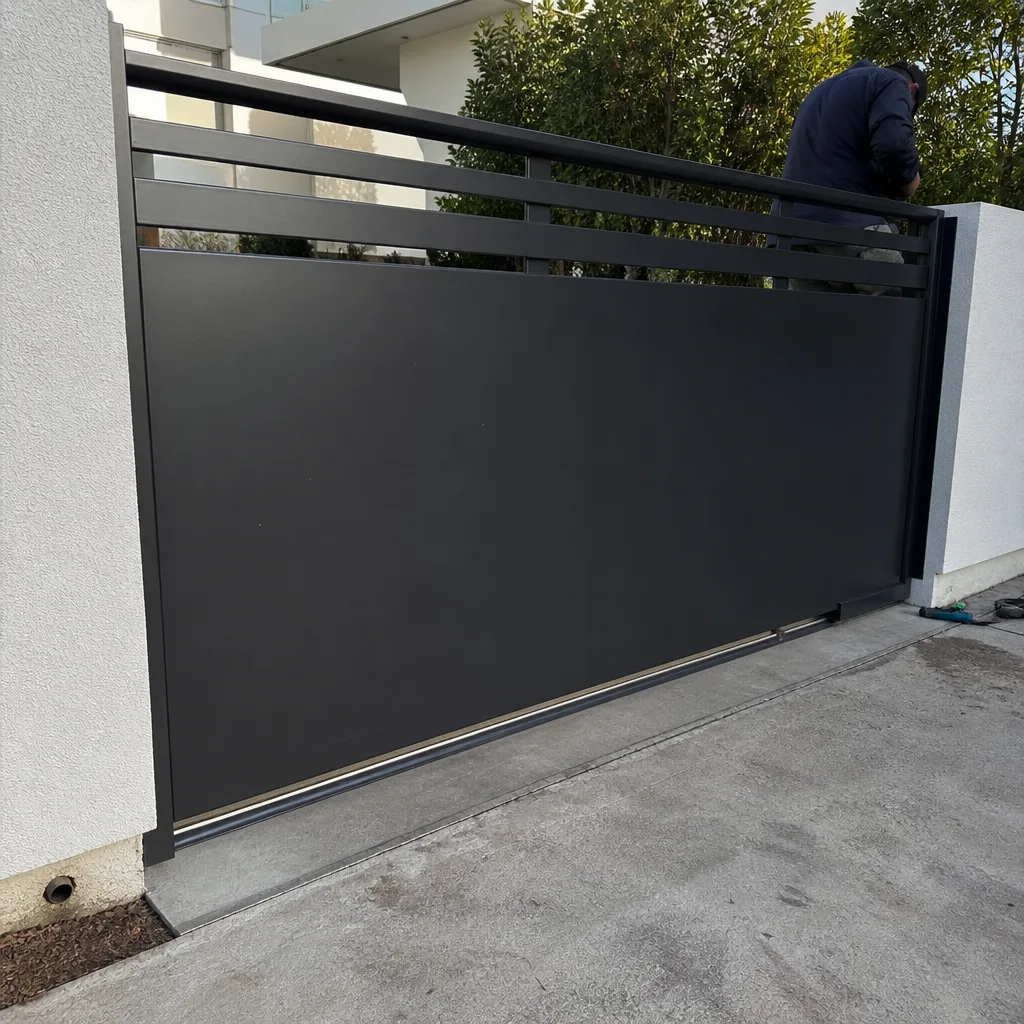 After
AfterDIY vs Professional Gate Repair: The West Hollywood Homeowner’s Decision Guide
Here’s a counterintuitive fact from 20-plus years of fixing gates: the repairs homeowners attempt themselves are rarely the ones that go wrong. A homeowner will spend a Saturday afternoon adjusting travel limits and do a perfectly fine job. The problems start when a gate that has been sagging for a year suddenly gets “fixed” by tightening a few hinge bolts, and six months later the entire hinge post leans out of plumb because the real issue was never addressed. In West Hollywood, where many homes sit on hillside lots with shifting soil and gates that weigh several hundred pounds, the line between a reasonable DIY task and a structural repair with consequences is sharper than most people realize. This guide draws that line clearly, task by task, so you know which jobs you can genuinely handle and which ones are worth a phone call before the damage compounds.
Quick Answer
DIY gate repair in West Hollywood makes sense for lubrication, limit switch adjustments, photo eye alignment, and remote programming - these are low-risk, reversible tasks with clear instructions. Professional repair is the right call for post work, weld repairs, operator wiring, and anything involving UL 325 entrapment protection settings, because mistakes in those areas create safety liabilities and structural damage that cost far more than a service call. When in doubt, do the diagnostics yourself, write down what you find, and let a pro handle the actual fix.
Table of Contents
- Tasks You Can Genuinely Do Yourself
- Tasks That Look DIY-Appropriate But Aren’t
- The Liability Question Nobody Mentions
- How to Do a Legitimate Diagnostic Yourself
- When DIY Makes the Pro Repair More Expensive
- Gate Repair Costs in West Hollywood
- How West Hollywood Climate and Terrain Affect Gates
- Common Mistakes to Avoid
- When to Call a Professional
- Frequently Asked Questions
- The Bottom Line
Tasks You Can Genuinely Do Yourself
Some gate maintenance tasks are simple, safe, and reversible. You don’t need a service call for these, and doing them yourself keeps your gate running smoothly between professional checkups. Here’s what’s genuinely fair game.
1. Lubrication
Every moving metal part on a gate needs lubrication once or twice a year, and this is the single most neglected maintenance task we see across West Hollywood. Dry hinges wear unevenly. Dry rollers drag and bind. A gate that sounds like a dying animal at 7 a.m. is almost always just thirsty.
Steps for proper gate lubrication:
- Start with a clean surface. Wipe hinge pins, roller tracks, and chain drives with a rag to remove old grease and dirt buildup.
- Use a spray lubricant with a straw nozzle for precision. White lithium grease is the go-to for hinges and chain drives.
- For sliding gate rollers and track, use a dry silicone spray - it doesn’t attract the fine dust that’s everywhere in West Hollywood’s dry summers.
- Apply lubricant to the hinge pins, not just the barrel. Work the gate back and forth a few times to distribute it.
- Wipe away excess. Puddles of grease collect grit and do more harm than good.
2. Limit Switch Adjustments
If your gate closes and then reverses, or opens and stops short of the post, the limit switches are the first thing to check. On most residential operators - FAAC, BFT, Linear, and Viking models all work similarly - there are two small dials or screw adjustments inside the control box: one for open limit, one for close limit. Here’s the process:
- Locate the limit adjustment mechanism on your operator. It’s usually inside the control box, labeled clearly on the circuit board.
- Make small adjustments - a quarter turn at a time - then test the gate’s travel.
- Adjust the open limit first, then the close limit. Separating them prevents confusion.
- Test with the gate’s full cycle, not just a short jog.
- If the gate still behaves erratically after two or three adjustments, stop and make the call. The limit switch itself may be failing, and that’s a parts replacement, not an adjustment.
A quick note on older Viking and Linear operators: these limit assemblies are mechanical leaf switches that can wear out entirely. If adjusting does nothing, don’t keep cranking the screw. You’ll strip the mechanism and turn a $90 repair into a $400 control board replacement.
3. Photo Eye Alignment
Your gate has photo eyes - small sensors on either side of the gate opening, usually near the ground. When they’re misaligned, the gate refuses to close, or it reverses immediately after making contact. This is a common issue in West Hollywood because sprinkler systems, foot traffic, and those relentless Santa Ana winds knock sensors out of alignment regularly.
Here’s how to realign them:
- First, clean the lenses. A surprising number of “photo eye” problems are just dirt. A dry cloth does it.
- Check that both sensors are at matching heights. If one has been bumped downward, the beam misses the receiver.
- Many sensors have a small LED indicator that lights steady when aligned and blinks when not. Use it as your guide.
- Slowly adjust one sensor at a time until the LED goes steady.
- Tighten the mounting hardware when finished.
If the sensor housings have been hit hard enough to bend the mounting brackets, that’s a different story - straightening bent brackets often cracks them. New photo eyes are affordable, and the replacement takes about 20 minutes. But the wiring to those sensors carries the entrapment protection signal, so if you’re unsure, that’s a job for our gate repair in West Hollywood service rather than a guess.
4. Remote Programming
Programming a replacement remote is straightforward on most modern operators. LiftMaster and Linear both use a simple “learn button” sequence. BFT and FAAC remotes sometimes require a master remote or a specific button-press sequence on the control board. The manual for your operator was probably thrown away in a drawer somewhere, and that’s fine - the instructions are published online by every major manufacturer.
The key thing here is not to confuse remote programming with safety parameter setting. Programming a remote only adds a transmitter code to the receiver’s memory. It doesn’t touch the force sensitivity or entrapment settings. Those are separate menu items, and that separation exists for a good reason.
Tasks That Look DIY-Appropriate But Aren’t
Now we get to the part where I’ve watched homeowners with good intentions create expensive problems. Everyone has heard a story about a neighbor who “just went ahead and replaced the whole thing.” What those stories leave out is what went wrong the first time, which leads us to the first lesson.
1. Post Work: The Hinge Post Is the Whole Ballgame
In post-and-hinge gate systems - which cover most residential gates in West Hollywood, particularly on sloped lots in the hills above Sunset - the hinge post is doing the work of carrying the entire gate’s weight. When a gate sags, homeowners see the gate dragging in the middle and think the gate itself is bent. It almost never is.
What actually happens is the hinge post has shifted. Years of cyclic loading from the gate swinging open and shut, combined with the shrink-swell behavior of the clay-heavy soil in the Hollywood Hills, breaks the soil’s grip on the post footing. The post tilts a few degrees, the gate sags, and the latch side scrapes the ground.
Setting a post properly in West Hollywood soil means setting the footing below the real frost line - which here is essentially zero - but more importantly, below the zone where soil moisture fluctuates. That’s typically 30 to 36 inches. If you dig out the old post and pour a new footing only 18 inches deep because that’s what’s easy, the same cycle repeats itself in 18 months. The gate sags again, and you’ll be back out there with a shovel. The fix, if you’re doing it correctly, involves removing the old footing, sizing the new one for the gate’s actual weight, and often welding a repair sleeve onto the post if it’s been cut or corroded at the base.
Fix the panel without the post and you’ll fix it twice.
2. Weld Repairs
Homeowners sometimes see a cracked weld and think any welder can make a bead. The reality is that gate welding carries specific requirements that set it apart from welding a trailer or a gate post bracket. The welds on a gate are dynamic - they flex every single time the gate cycles. A poorly executed weld on a hinge joint introduces a stress riser that will crack again, usually right next to the new bead.
More importantly, welding a gate while it’s still hanging on its hinges creates a real safety hazard. The heat from welding conducts through the metal into the operator’s drive system, and if the operator still has power to the motor leads, adding heat while the gate is under tension can damage the operator’s output shaft or warp the drive arm.
We weld on-site at Gatewood Fence & Gate - the gate stays in your driveway, not loaded onto a trailer destined for a shop in Burbank. The distinction matters because a gate that’s been removed for welding has to be re-hung and re-aligned afterward. When the gate stays in place, the alignment never changes.
3. Operator Wiring
Gate operators are built to run on dedicated circuits, and in many West Hollywood homes, the gate shares a circuit with garage outlets or exterior lighting. The temptation is to tap into an unused junction box near the gate and call it done. The problem is that gate operators draw significant inrush current on startup - 120 volt swing operators and 24V DC slide operators both pull hard when the motor kicks.
An undersized wire run causes voltage drop at the operator, which makes the motor work harder, run hotter, and fail prematurely. If you’re not comfortable calculating voltage drop over the distance from your panel to the gate, that’s not a skill gap, it’s a whole discipline with code requirements. The wiring inside the operator also interacts with the UL 325 safety circuits - every photo eye, edge sensor, and the auto-reverse function communicates through that harness. A loose connection or a misidentified conductor can disable a safety circuit without triggering any visible error, and the gate appears to work normally while being genuinely unsafe.
4. UL 325 Entrapment Protection Settings
UL 325 is the standard that governs automatic gate operators in the United States. It exists because gates have killed people - usually children - and the entire standard is written around preventing entrapment. Your gate operator monitors its own motor current to detect obstructions. If the current spikes above a set threshold, the operator reverses.
That threshold is adjustable. Homeowners sometimes adjust it upward because the gate is fighting a sticking hinge or a low roller, and the operator keeps reversing. That fixes the symptom - the gate no longer reverses - but what you have done is teach the gate to push through more resistance, which is exactly the scenario where entrapment injuries happen. A child or pet pinned against the gate post now face more closing force than the system was designed to allow.
This is not a performance setting. It’s a safety setting, and it protects the people who walk through your gate every day. Adjusting it upward without addressing the underlying mechanical issue is the single most dangerous “repair” a homeowner can make to a gate, and UL 325 explicitly assumes these adjustments are made by qualified service personnel. If an injury happens because the force setting was increased beyond the listed threshold, you have altered a safety device, and that detail tends to surface in court - and in insurance claim denials.
The Liability Question Nobody Mentions
Here’s a scenario that gets overlooked in almost every gate repair conversation: your gate operator came from the manufacturer with entrapment protection settings dialed to specific numbers, validated against UL 325 test criteria. You change those settings yourself. A few months later, a neighbor’s child runs through the gate as it’s closing, and the gate doesn’t reverse quickly enough. The child is injured.
The homeowner’s insurance company investigates. It comes out that the operator’s force settings were modified from factory specifications, and the modification was made by someone without formal training on UL 325 compliance. That is a material alteration of a recognized safety system, and insurance policies routinely exclude coverage for injuries caused by unlicensed modifications to safety equipment. Your policy may pay the property damage claim and still refuse the injury liability.
I bring this up not to scare people off legitimate maintenance, but because the distinction between “adjusting travel limits” and “adjusting force sensitivity” is invisible if you don’t know the difference. Travel limits control where the gate stops. Force and entrapment settings control how the gate behaves when something is in the way. One is a convenience. The other is a safety system, and it carries consequences that follow the home for years. This is also where a professional’s insurance and licensing matters, because a licensed contractor carries their own liability for work they perform. A homeowner’s DIY modification carries no such shield.
If you are looking at the control board and see menu items labeled “force” or “sensitivity” or “reverse,” stop there. That is the line.
How to Do a Legitimate Diagnostic Yourself
You don’t need to fix anything to be genuinely useful to the repair process. A homeowner who can describe a problem precisely saves the technician a half hour of diagnostic time, and that savings shows up in the bill. Here’s a diagnostic checklist you can run through before you call anyone.
1. Describe the Exact Failure
Does the gate fail to open, fail to close, or fail to stop at the right spot? Does it reverse mid-cycle? Does it grind? Write down what you see:
- Does the operator hum but the gate doesn’t move?
- Does the gate start moving and then stop halfway?
- Does it move in one direction only?
- Does it close all the way and then immediately reverse without an obstruction?
- Is there a clicking sound from the control box?
Each of these symptoms points toward a different subsystem - motor, capacitor, limit switch, sensor, or gearbox - and knowing the exact failure saves time that would otherwise be spent replicating it on site.
2. Note Recent Changes
Was there a power outage in the last week? A car that clipped the gate or the track? A new remote you just added? Sprinkler work near the gate? In West Hollywood, rain storms in January and February often precede sensor problems, because water intrusion into below-ground junction boxes is a common failure point. Write down anything that changed in the two weeks before the problem started.
3. Check the Obvious Moving Parts
Look at the hinges, the rollers, and the track. Is anything visibly bent? Is one roller sitting lower than the others? Are the hinge bolts all present, or is one sheared off? A sheared hinge bolt is a very specific finding - it tells us the gate has been cycling under load that exceeded the bolt’s shear capacity, and the gate is compensating by stressing the next hinge up the line.
4. Test the Manual Release
Most operators have a manual release lever or key. Disconnect the operator and try moving the gate by hand. If the gate moves freely by hand, the mechanical system is probably fine and the problem is in the operator or wiring. If the gate is hard to move or binds in one spot, the mechanical system is worn, and no amount of operator adjustment will fix it.
5. Write Down the Operator Model Number
FAAC, BFT, Linear, Viking - each brand has quirks, and the model number tells us which quirks apply. The nameplate is on the side of the operator housing. Include the model number in your message when you call or fill out a form. It means the right parts ride along on the first visit.
When DIY Makes the Pro Repair More Expensive
A homeowner’s attempted fix sometimes creates damage that never would have existed. These aren’t hypotheticals - I’ve seen every one of these in West Hollywood.
Overtightened hinge bolts. A sagging gate invites the well-intentioned fix of cranking down on the hinge bolts with a breaker bar. The problem is the sag has a cause, and the cause is usually a shifted post or a worn hinge pin. Overtightening the bolts doesn’t address the sag, but it does distort the hinge barrel and the leaf, which then has to be ground off and replaced. A $30 hinge replacement becomes a $200 repair.
Stripped limit switch screws. A limit switch that won’t respond is sometimes just a failed switch, but a homeowner who keeps screwing the adjustment repeatedly will strip the plastic threads on the switch bracket. Now the control board’s limit reference is gone entirely, and the board must be replaced even if it was fine to begin with.
Chain drive over-tensioning. Chain-driven operators have a specified chain sag tolerance. A homeowner reads “tighten the chain” on a forum and takes all the play out. An over-tensioned chain loads the drive sprocket and motor bearing beyond spec, and the constant radial load eats the bearing in months. The repair is a full motor replacement, not a chain adjustment.
Photo eye “bypass” wiring. I’ve seen homeowners wire a jumper across photo eye terminals to make the gate close. There is a reason the gate won’t close: the safety circuit is doing its job. Bypassing it leaves you with a gate that closes on anything in its path. Reversing that homeowner modification is usually easy, but if the wiring burned something on the board during the experiment, that’s a whole different job.
All of this is why we tell West Hollywood homeowners the same thing every time: run the diagnostic, write down what you see, and call. Estimates are free, and the price we quote is the price you get before any work starts.
Gate Repair Costs in West Hollywood
West Hollywood gate repair prices run slightly higher than the national average, and there’s a reason. Many properties are built on sloping lots that make access and equipment handling more labor-intensive than a flat suburban driveway. The gate itself is often ornamental - a custom steel gate that weighs more than stock gates and requires more time to repair correctly.
Here’s what you can expect to pay for common repairs in the West Hollywood area:
- Hinge replacement: $180-$400 per hinge, depending on whether the gate is decorative steel or heavier custom work. Most gates need both hinge pairs replaced at once, since unevenly worn hinges transfer load to one side.
- Operator replacement (residential swing or slide): $1,200-$2,400 installed. This includes the operator unit, mounting hardware, and full safety circuit re-verification to UL 325. The swing operator you choose depends partly on gate weight and cycle frequency, which we calculate during the estimate.
- Photo eye replacement: $150-$350 per pair. This assumes the wiring is intact and we’re not chasing a buried junction box failure.
- Track and roller replacement (slide gates): $400-$900, depending on track length and whether the concrete track bed needs repair, which it often does on West Hollywood sloped lots.
- Weld repair (on-site): $150-$500 depending on the scope. A single cracked hinge bracket weld is a very different job from reinforcing a failing post-to-rail connection on a long custom gate.
- Full diagnostic service call: Free if you proceed with a repair. If you only want a diagnosis and will handle the repair elsewhere, the trip charge inside the county is waived - but if you’re outside the county, ask about the trip charge before we schedule.
Every quote is written, and the price is agreed on before any work begins. No surprise line items at the door. That’s been the policy since we opened the shop in 2001, and it’s not changing.
For more on the full range of services we cover, take a look at gate repair in West Hollywood or see how we approach new gate installation in West Hollywood.
How West Hollywood Climate and Terrain Affect Gates
West Hollywood sits in a Mediterranean climate with dry, hot summers and mild, wet winters. That pattern matters more than most people realize.
The hillside districts above Sunset Plaza, along the Bird Streets, and east toward Laurel Canyon are built on clay-heavy soil that shrinks during the dry months and swells when the winter rains arrive. Gate posts set in that soil move with the moisture cycle, and operators mounted to those posts move with them. A gate that worked perfectly in August can bind in February not because anything broke, but because the post shifted a quarter inch. This is why post footings in these neighborhoods need to be deeper and wider than the minimum spec, and why we pour them differently than we would for a gate in the flats.
In the flats - the neighborhoods between Santa Monica Boulevard and Melrose, and the streets around Plummer Park - the soil is more stable, but the games are different. Gates there are often closer to the property line, which means traffic noise from Santa Monica Boulevard and San Vicente carries, and homeowners care about gate speed and soft-start features. The operators we install in these areas are often smaller and quieter than what’s needed on a hillside lot, and the control settings are dialed for smooth operation rather than raw torque.
One more West Hollywood factor: parking. It’s notoriously difficult to park a work vehicle close to a hillside gate, and some of the narrow streets above Sunset require permits for extended parking. That affects how we schedule jobs and what equipment we send. If the gate can be reached with a standard service vehicle, the estimate reflects it. If we need to shuttle tools up from a parking spot two blocks away, that’s also factored in ahead of time - never as a surprise add-on.
If you are reading this from a neighboring area, the same general principles apply, but the soil and terrain behavior may be different. We also service gate access control in West Hollywood and the surrounding communities, and the site conditions matter to how the work is done.
Common Mistakes to Avoid
- Tightening hinge bolts to fix a sagging gate. As explained above, a sag traces back to the hinge post. Tightening the bolts masks the symptom for a week, then the post settles more, and the gate sags lower. The hinge barrel gets distorted in the process. Fix the panel without the post and you’ll fix it twice.
- Ignoring a gate that constantly reverses. When the gate closes and then reopens for no visible reason, the safety circuit is telling you something. Usually it’s a dirty or misaligned photo eye. Sometimes it’s a failing edge sensor. Either way, the correct move is diagnostics, not forcing the gate to stay closed by bypassing the sensor.
- Adjusting force settings to compensate for a sticking mechanical part. The gate is reversing because the motor detects unusual resistance. Crank up the force threshold and you have solved nothing - you have just muted the system that was protecting people. Fix the mechanical issue, then put the force settings back where they belong.
- Replacing an operator without checking the gate itself. The operator is the last link in the chain. If the gate drags, binds, or leans, the new operator will fight those forces and burn out early. Good operators are expensive. Let the gate and the operator be evaluated together.
- Skipping UL 325 safety re-verification after an operator swap. A gate operator replacement isn’t done when the gate moves. It’s done when the photo eyes, edge sensors, and auto-reverse are tested with an actual obstruction. Skipping those tests is the difference between a working gate and a safe gate.
- Thinking all electricians can wire a gate. Residential electricians are competent at running circuits, but gate operator wiring includes low-voltage control conductors, safety circuits, and motor leads that interact with a logic board. A gate that’s been wire-nutted together by someone who didn’t understand the harness is a puzzle for the next person who opens the box.
- Choosing price over a verifiable local presence. The least expensive quote often reflects what’s not being done. If the business has no published address, no license number you can verify, and no willingness to put the warranty in writing, you’re not saving money. You’re deferring the cost of doing it twice.
When to Call a Professional
Call a professional when the repair involves the hinge post, any weld, the operator’s internal wiring, or any setting labeled with force, sensitivity, or entrapment. Those are the jobs where a mistake compounds, and where the safety liability lands on the person holding the screwdriver.
Call a professional when the gate has shifted enough that the latch no longer catches the post, because that indicates structural movement. Call when the operator hums but won’t start, because the problem is internal to the motor or capacitor and no amount of external adjusting will help. Call when the gate has ever closed on a person, even gently, because that is a safety system failure waiting to repeat itself.
Gatewood Fence & Gate offers free estimates in West Hollywood - call (323) 677-4063 and a live person will answer, day or night. The name is on the shop, and the shop is down the road. That is the oldest accountability there is.
And if you want a broader view on the systems that control who gets through a gate in the first place, our gate access control in West Hollywood page explains how intercoms, keypads, and vehicle detection integrate with a repaired gate.
Frequently Asked Questions
You can safely adjust operator travel limits, lubricate moving parts, clean and align photo eyes, and program replacement remotes. You should not open the operator’s internal wiring compartment, adjust force or entrapment settings, or replace the motor or control board yourself, because those are UL 325 safety systems and a mistake can disable the auto-reverse function. When the job is beyond routine adjustment, call (323) 677-4063 for an exact quote - estimates are free.
Gate repair in West Hollywood typically costs between $150 and $2,400 depending on the job. Hinge replacements run $180-$400 per hinge, photo eye replacements $150-$350 per pair, and full operator replacements $1,200-$2,400 installed. Weld repairs on-site range from $150-$500. Every job is quoted in writing before any work starts, so the price you agree to is the price you pay.
Travel limits control where the gate stops at the open and closed positions. Force settings control how much resistance the gate pushes against before reversing. Travel limits are safe to adjust on your own with mild patience. Force settings are the UL 325 entrapment protection circuit, and changing them without knowing the system means you are adjusting safety device parameters that protect people. Adjust travel limits yourself, leave force settings to someone who can verify the system afterward.
Routine gate repairs - hinge replacement, operator service, photo eye replacement - typically do not require a permit. If the repair involves structural changes to the gate post footings, or if you are altering the size, height, or placement of the gate, West Hollywood may require a permit. Specific front-yard and hillside regulations vary by district, and it’s worth checking with the city’s planning counter before making major changes.
Sometimes, and it usually depends on the slope and layout of the driveway. If the driveway slopes toward the street, a swing gate needs enough space to arc over the grade, and that’s not always available in the tight lots common south of Sunset. Metric measurements aside, the conversion often involves re-pouring a post, relocating the operator, and re-running wiring. It’s a real project, not a retrofit. Call (323) 677-4063 and we’ll look at the site and tell you what’s actually possible.
Every 12 months for a well-used automatic gate, and twice a year if the gate cycles more than 20 times a day. Service includes lubrication, hinge pin inspection, roller and track wear assessment, operator diagnostics, and safety circuit verification. For gates on hillside lots with known soil movement, the post alignment should be checked during the annual service as well. Regular service extends operator life and catches hinge-post movement before it manifests as a gate that won’t close.
The Bottom Line
The DIY-versus-professional question isn’t about whether you are mechanically inclined. It’s about knowing which tasks carry load - in the literal, structural sense, and in the safety sense. Lubrication, limit switch adjustment, photo eye alignment, and remote programming are genuinely yours to do. Hinge post work, weld repairs, operator wiring, and entrapment protection settings are not.
The frustration of a misaligned gate is temporary. The liability of a misconfigured safety system can follow a property for years. When the work is structural or safety-related, the professional you hire should be someone with a verifiable local footprint, a license you can look up, and a name on the shop. Since 2001, that’s been Gatewood Fence & Gate. If you’re in West Hollywood and your gate is acting up, run the diagnostic, write down the model number, and call (323) 677-4063 for a free estimate.
Start with the Gatewood Fence & Gate home page for the full picture of what we do, or go straight to gate repair in West Hollywood if you know you need a technician.
Written by Hal Gatewood, Owner at Gatewood Fence & Gate, serving West Hollywood since 2001.